To translate a plugin or theme via Yandex Translation Widget using the Automatic Translate Addon for Loco Translate, please follow these steps:
Installation and Activation
- Install and activate the Loco Translate plugin and the Automatic Translate addon on your WordPress website.
Choose plugin or theme
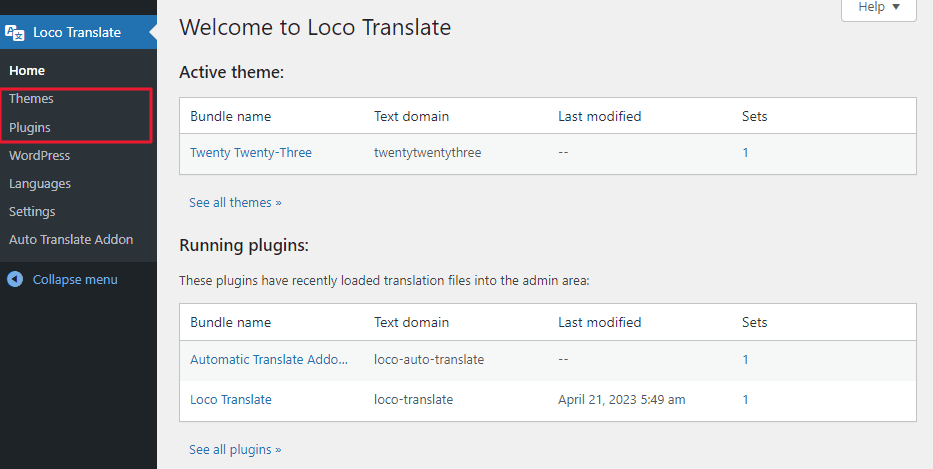
- Navigate to the Loco Translate page on your WordPress dashboard.
- Select the plugin or theme you want to translate.
Select the Language
- Click on the New Language button and choose the language you want to translate the plugin or theme into.

- After selecting the language, click on the Start Translating button to open the translation editor.
- You will see a section called Auto Translation. Click on the Configure button next to it.
Translating the Content
- On the Automatic Translation settings page, select Yandex as your translation service.
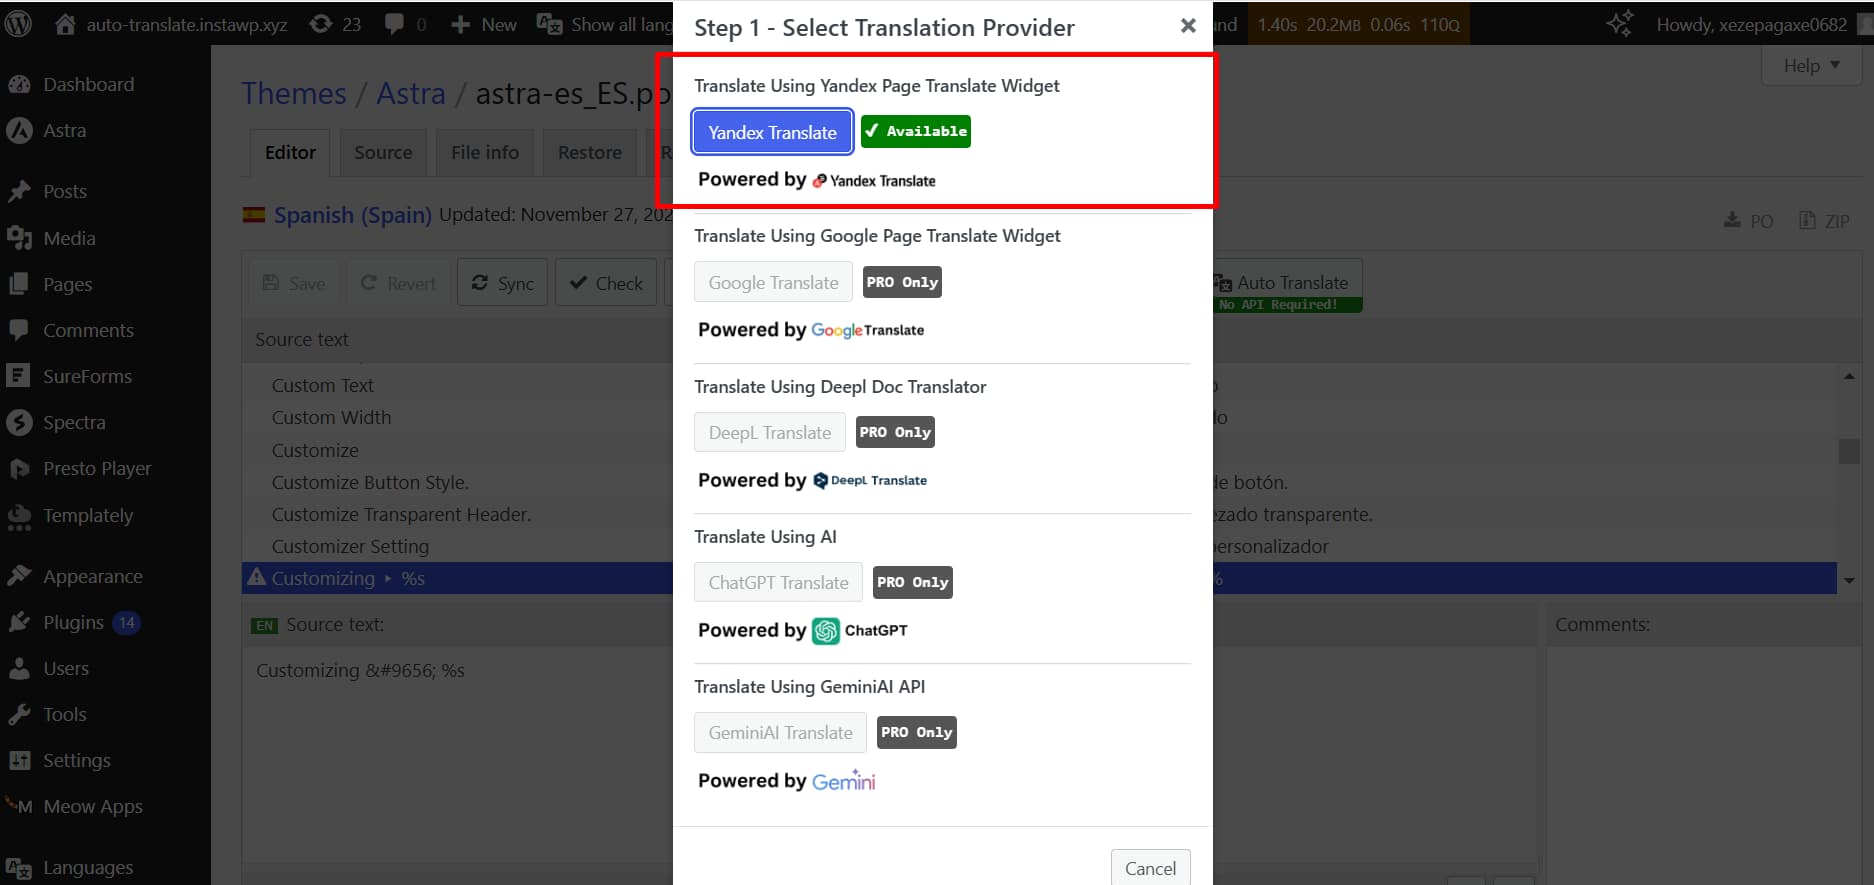
- Now, to automatically translate your plugin or theme, click on the Translate button next to each untranslated string.
Merge & Save Translations
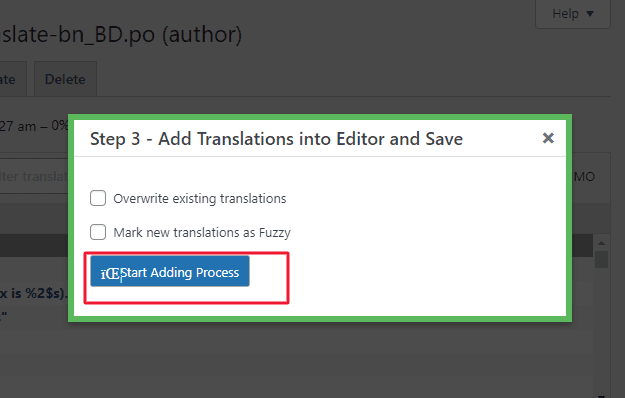
- Click on Merge Translation.
- A pop-up will appear. Click on Start Adding Process.
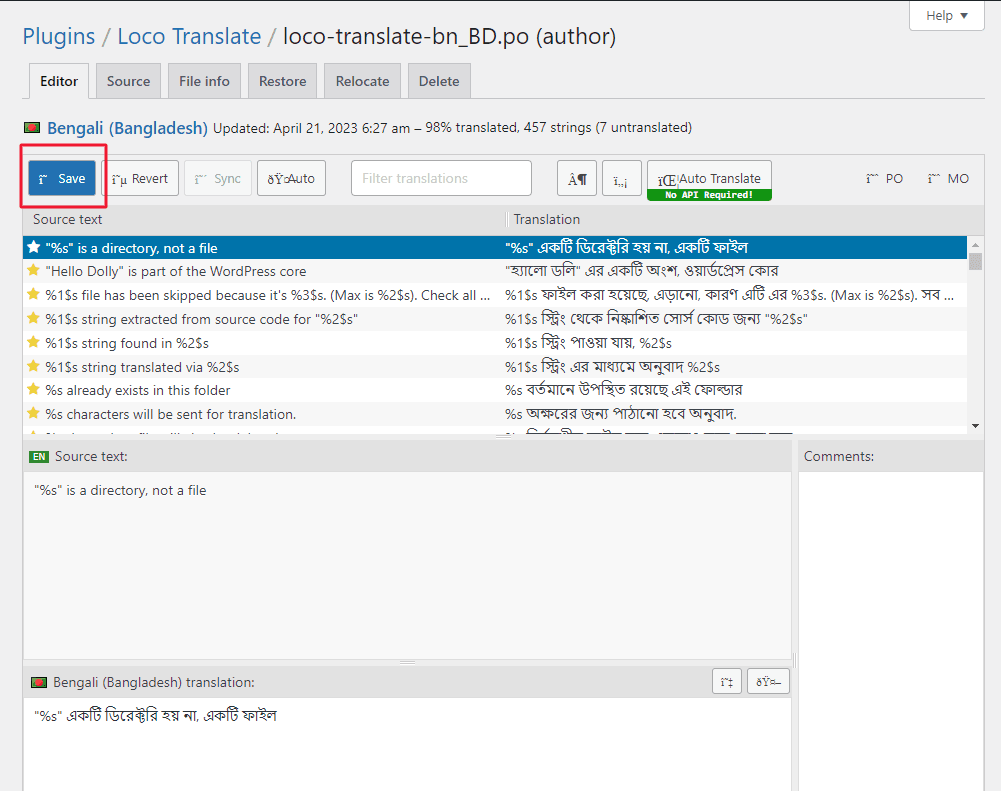
- Once you have finished translating, click on the “Save” button to save your translations.
That’s it! You have successfully translated your plugin or theme via Yandex Translation Widget using the Automatic Translate Addon for Loco Translate.
Note: If you want to use Google, DeepL doc or Chatgpt translator through the Automatic Translate Addon for Loco Translate, you will need to purchase the pro version of the addon. However, you can visit the official website of LocoAddon to learn more about the pro version and how to purchase it. Additionally, you can check the plugin’s documentation or support forum for more information on using the pro version and its features.