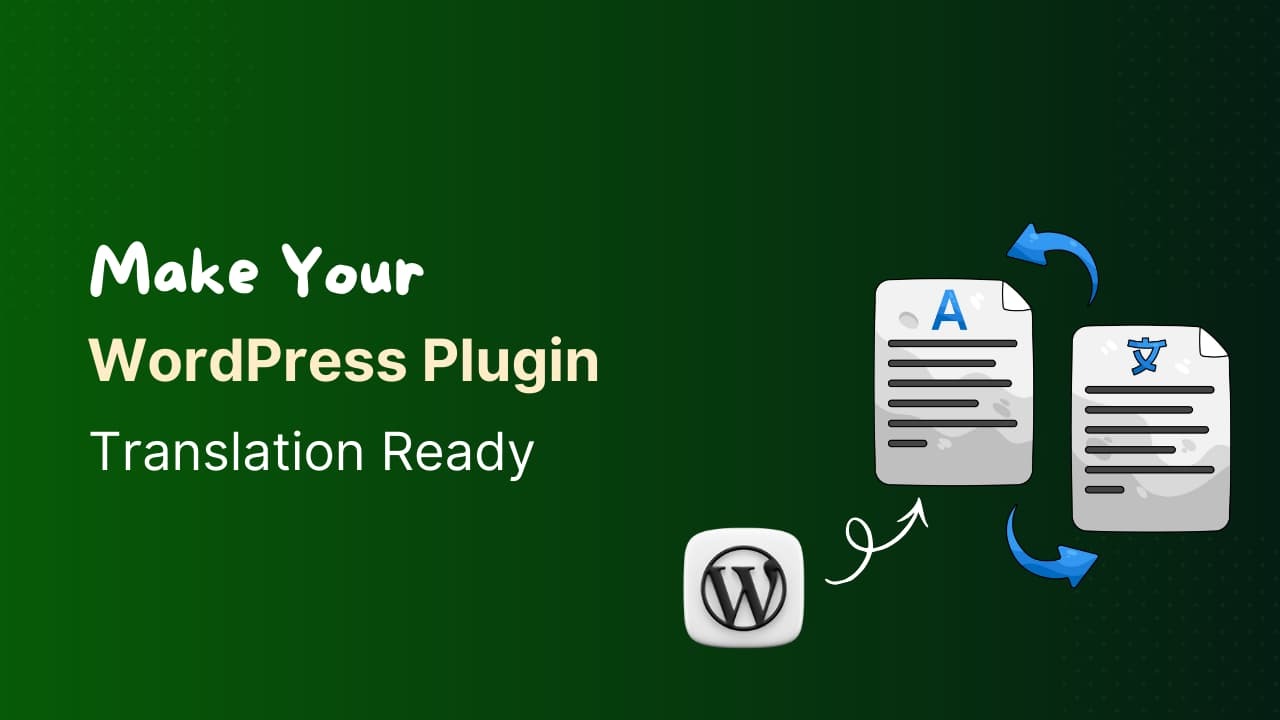
Imagine you have a WordPress Website that introduces your business to the world, but is it possible to convey your message and build a connection using just one language? Studies have shown that the majority of international users struggle to engage with websites that are not available in their native language. As a result, they go for alternative sites that offer them to read information in their preferred languages.
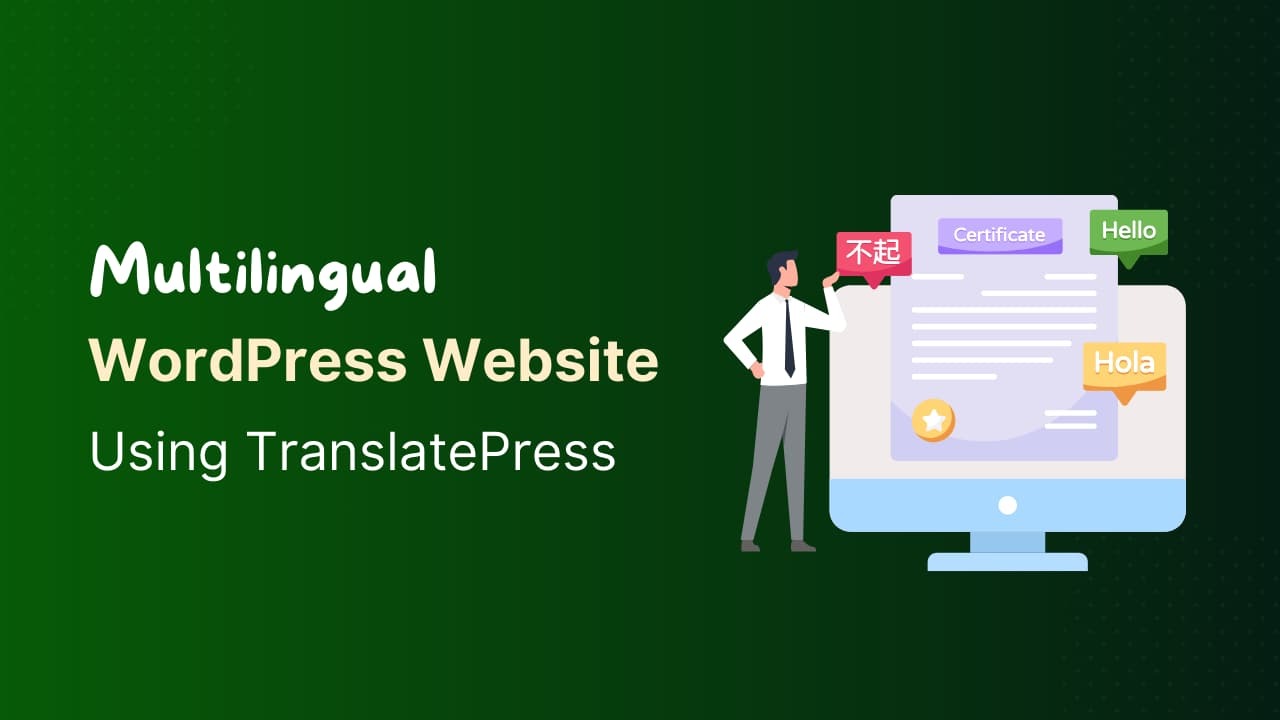
So, having a multilingual website is very important for every business to reach a global audience. If you’re using WordPress, then the TranslatePress plugin is the solution. This powerful tool simplifies the process of translating your website, making it accessible to users all around the world.
In this guide, I will walk you through simple steps to make a website multilingual using TranslatePress Plugin.
Why TranslatePress Plugin?
TranslatePress is a WordPress plugin that allows you to translate your entire site directly from the front end. Unlike other translation plugins that require you to navigate through multiple back-end settings, TranslatePress enables you to see changes in real-time as you edit the translations.
It offers support for a wide range of languages. You can use its free version to translate your site into one other language. For unlimited languages, you need the Pro version.
Step-by-Step Guide to Use TranslatePress Plugin
Step 1: Install and Activate the Plugin
Install the TranslatePress plugin from the WordPress repository. Once activated, Select the TranslatePress option from settings.

Step 2: Configure Languages
In the TranslatePress settings, go to the “General” Tab. Check the default language, change it if you want, and choose the additional languages you want.

Step 3: Open the Translation Editor
Click on Translate Site to start translating your content. The live editor will open.

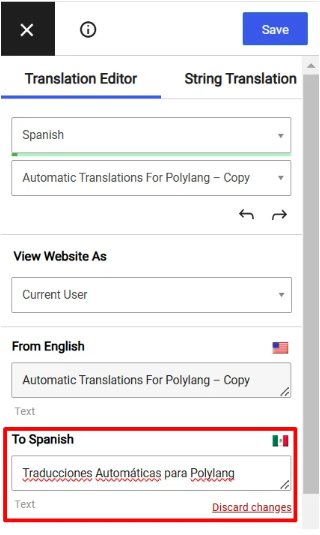
Step 4: Translate Text Strings
From the translation panel, first, select the language, then hover over the string you want to translate and click on the blue pencil icon.

Now enter the translated text into the corresponding language box. Similarly translate all the strings.
Step 5: Save & Preview
Once you finished all the translations, save all the changes.
Now, preview your site and check the translated text. Simply click on the language switcher and change it to your desired language.
We hope you found this article helpful! Additionally, we’d like to introduce the Automatic TranslatePress Addon. With this addon, all text strings are translated automatically into selected languages, eliminating the need for manual input. For a step-by-step guide on how to use the Automatic TranslatePress Addon, we’ve created a detailed guide that you can check out to automate the translation process.