If you’re using WordPress and want to translate plugins to your desired language, Loco Translate is a powerful tool that can help you get the job done. Translating plugins can be beneficial for making your website accessible to a global audience or customizing plugins to suit your specific needs.
Step-By-Step Guide on How to Use Loco Translate for Plugin Translations in WordPress.
Step 1: Install and activate Loco Translate
Go to your WordPress admin dashboard, navigate to Plugins > Add New, search for “Loco Translate“, and install the plugin. Once installed, activate it.
Step 2: Choose the plugin to translate
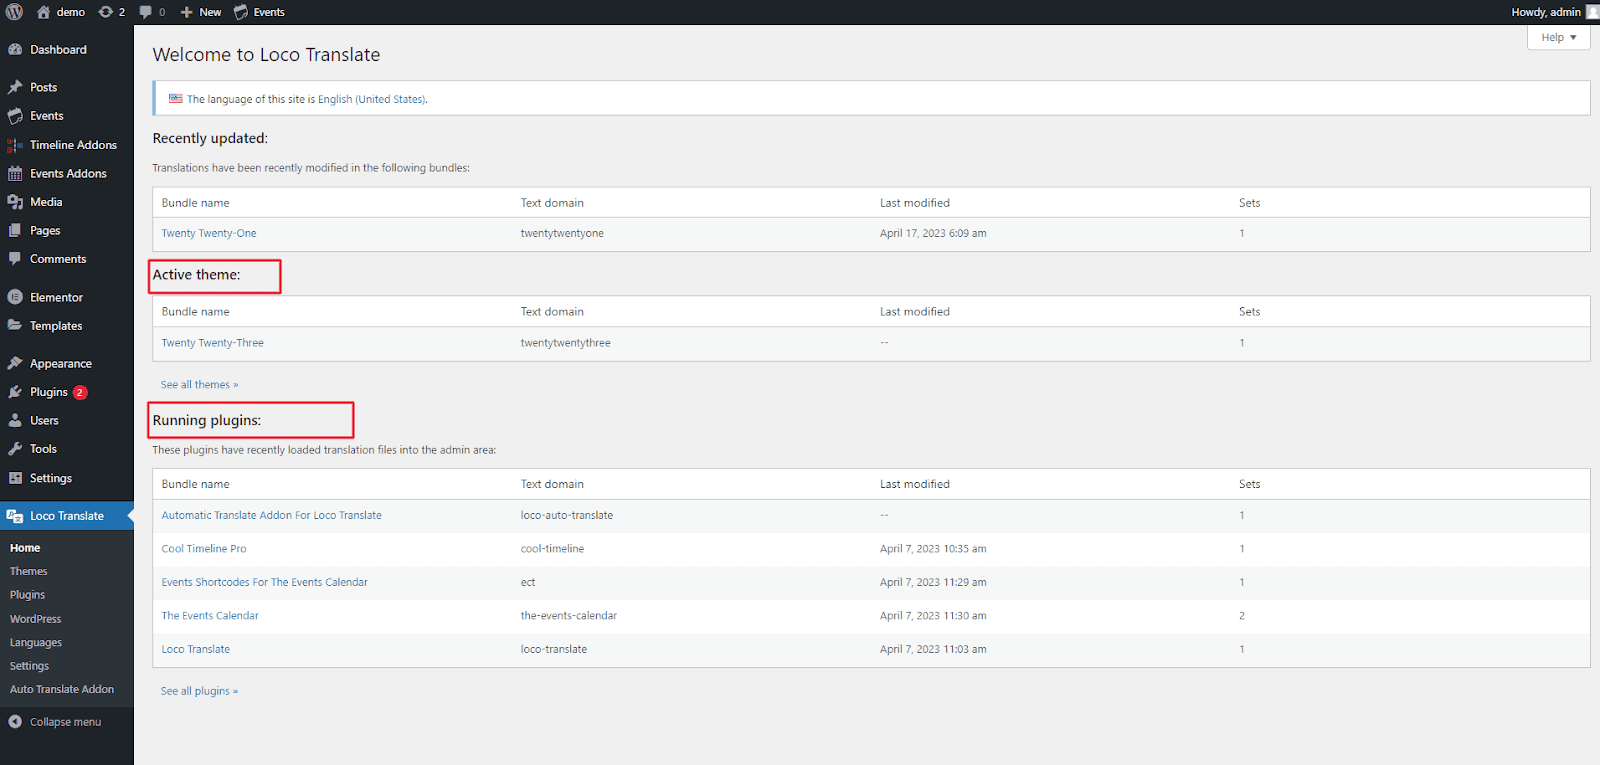
Go to Loco Translate in the WordPress admin dashboard, located under Tools. You will see a list of installed plugins and themes that are translatable using Loco Translate. Choose the plugin you want to translate from the list and click on it.
Step 3: Choose the language
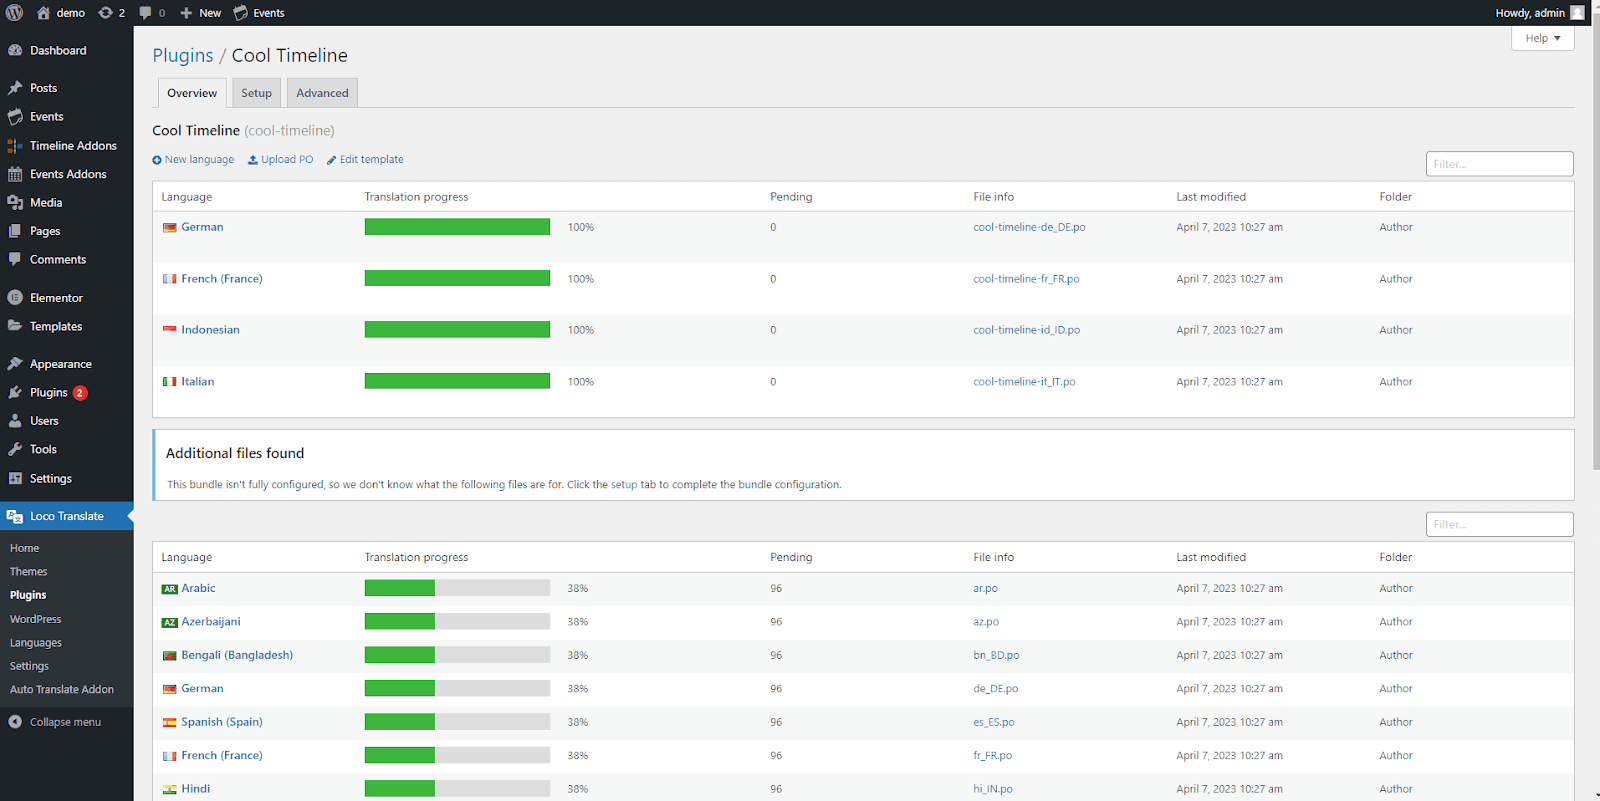
Choose the language into which you want to translate the plugin. You can either choose from the list of available languages or add a custom language.
Step 4: Create a new translation
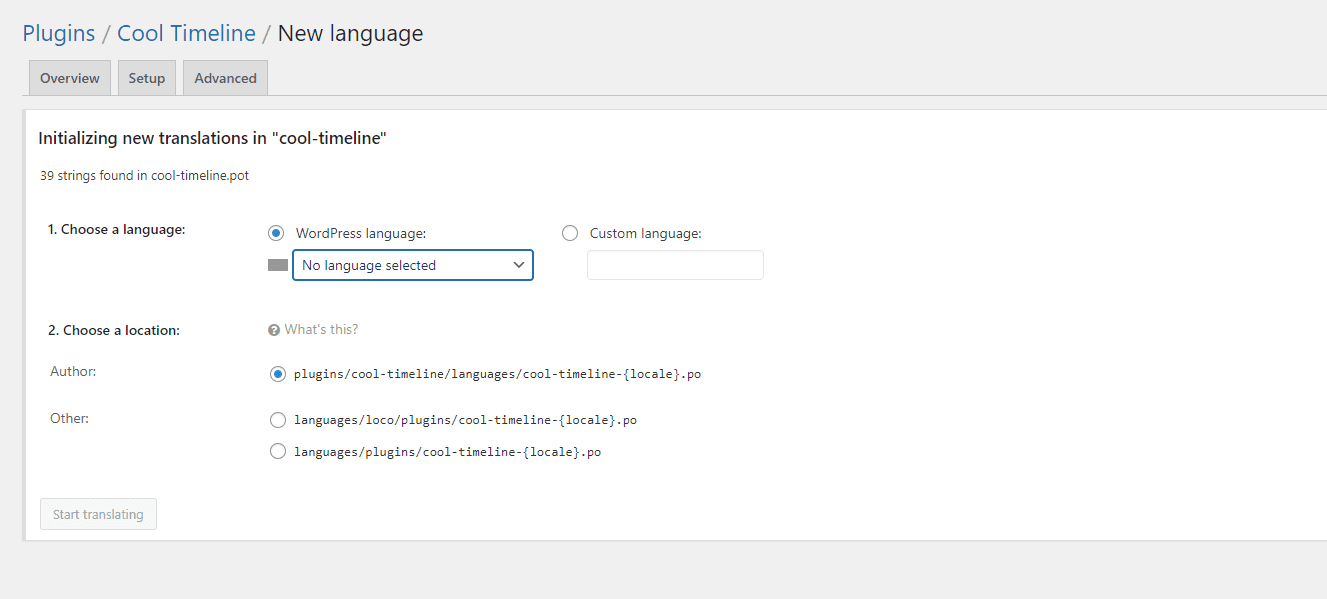
Click on the “New Language” button to create a new translation. You can either choose to create a new translation from scratch or import an existing translation file. If you’re translating a plugin for the first time, you’ll likely create a new translation from scratch.
Step 5: Translate the plugin strings
Loco Translate will load the plugin’s strings for translation. You’ll see the original string on the left and a translation box on the right. Simply enter the translated text in the translation box. You can translate one string at a time or use the “Next” and “Prev” buttons to navigate through the strings.
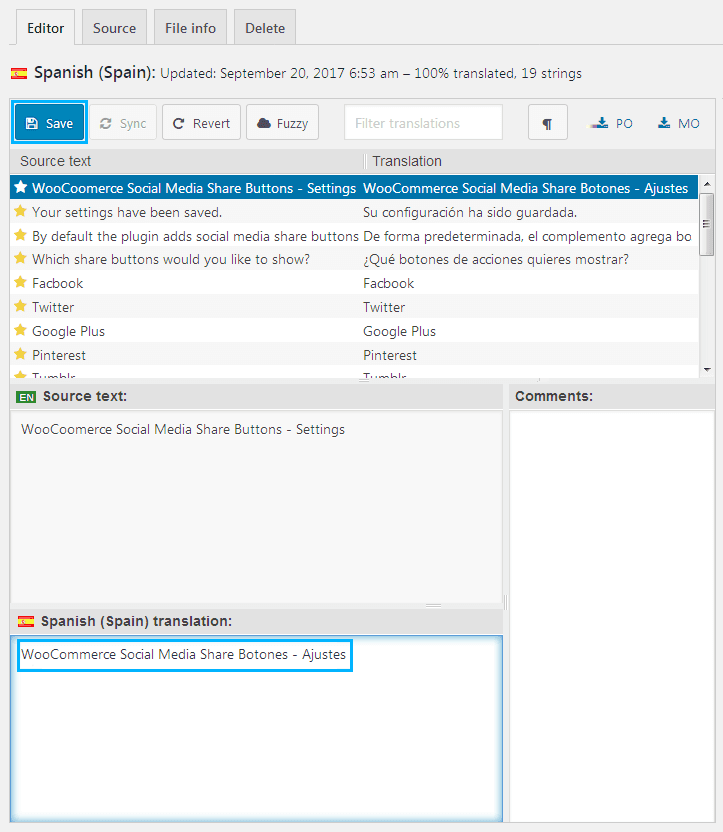
Step 6: Save your translations
After translating the strings, click on the “Save” button to save your translations. Loco Translate will generate a translation file (.mo) for the selected language and save it in the plugin’s language folder.
Step 7: Test your translations
Once you’ve saved your translations, you can test them by changing your WordPress site’s language to the translated language. You can do this by going to Settings > General and selecting the translated language from the Site Language dropdown menu. Make sure to save your changes. If everything is set up correctly, you should see the translated strings in your plugin when you visit the corresponding pages or sections on your site.
Conclusion:
Loco Translate is a powerful tool that makes it easy to translate plugins in WordPress. By following these step-by-step instructions, you can effectively use Loco Translate to translate plugins to your desired language and customize your WordPress website. Keep in mind to update your translations whenever the plugin is updated to ensure that your translations remain accurate. We hope this guide has been helpful, and you’re now ready to use Loco Translate for plugin translations in WordPress.