First, install and activate the Loco Translate plugin on your WordPress website. After installing the plugin, you must install the Automatic Translate Add-on for Loco Translate Plugin:
There are two ways to install a plugin.
- Install via WordPress Admin
- Install via FTP Account
Install via WordPress Admin (best plugin installation method)
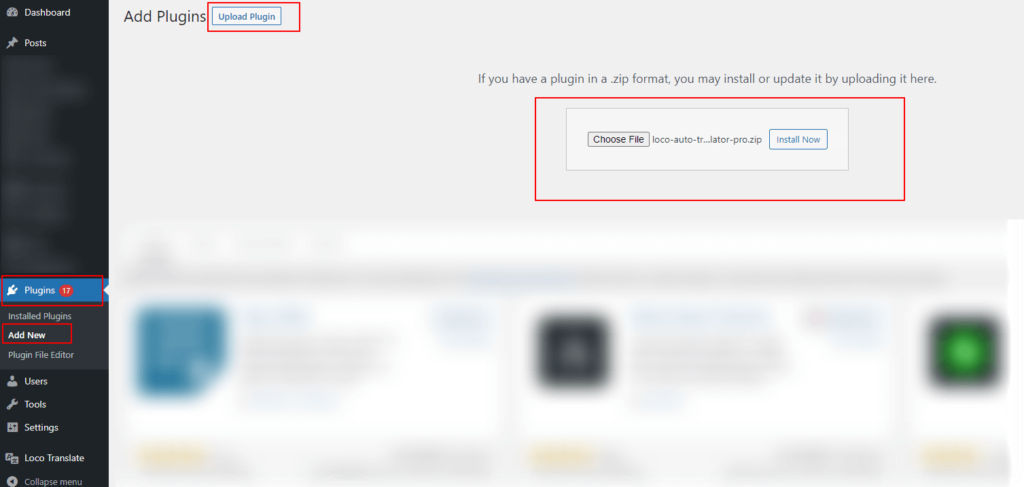
- Log in to the WordPress admin panel.
- From the left menu go to Plugins >> Add New >> Upload, to install the plugin.
- Click Upload.
- From here choose the file you just downloaded, make sure the file is in (.zip) format.
- Now click install & activate the plugin after installation.
Install via FTP Account
- To install the plugin, use your FTP software and browse to the wp-content/plugins folder.
- Extract the main plugin file (.zip) to the folder and upload it to the server.
- Once it’s uploaded, go to your WordPress admin panel and browse to Plugins >> Installed Plugins.
- Click the Activate link.